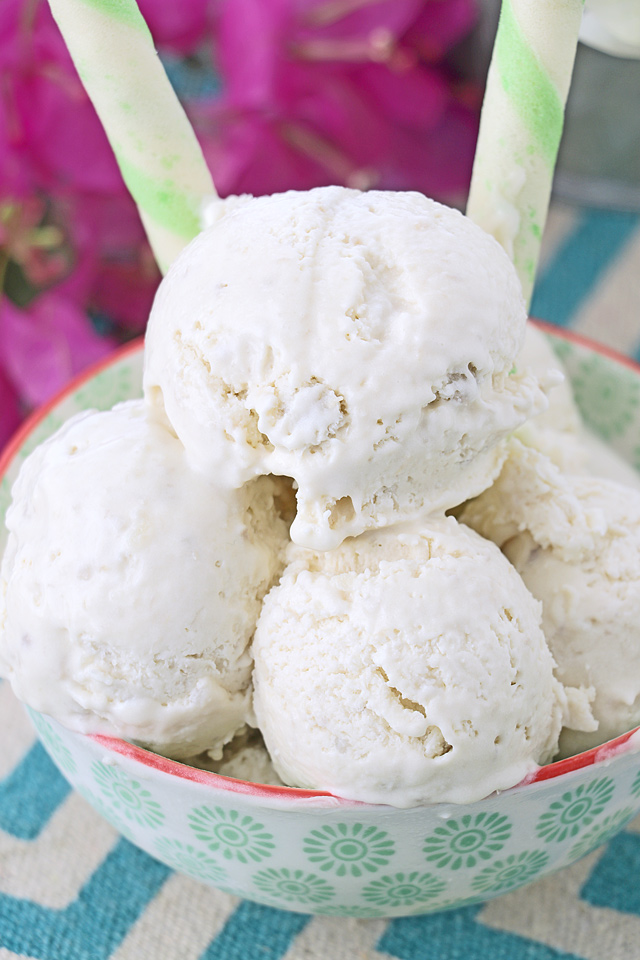
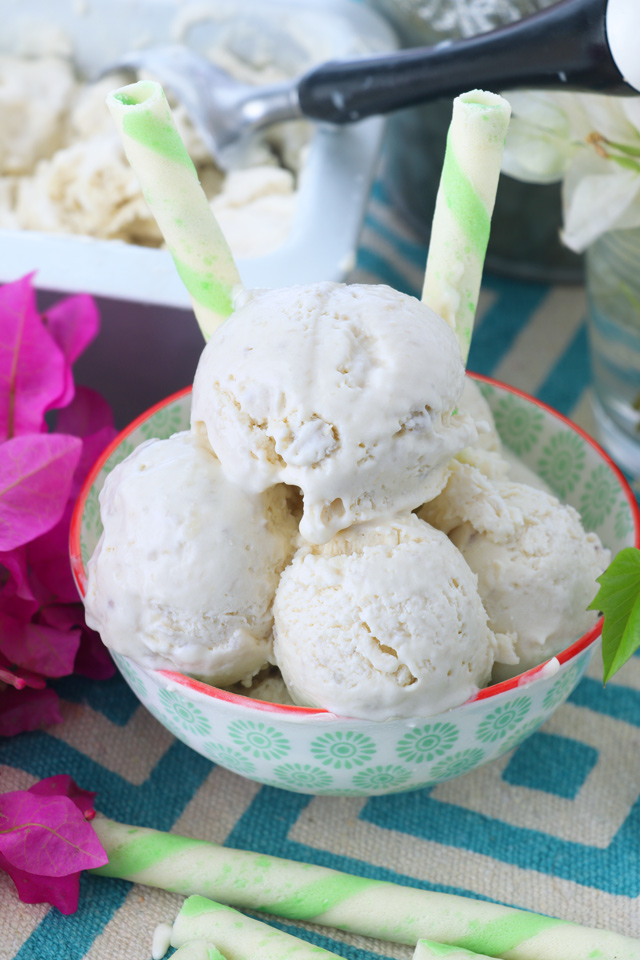
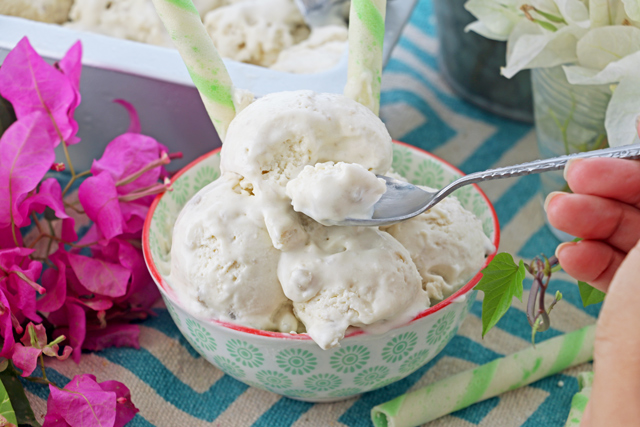
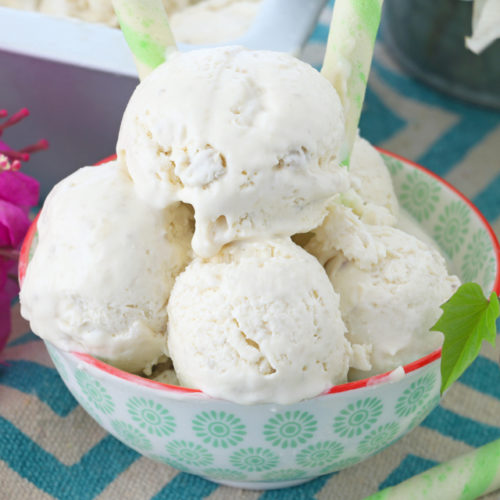
This no-churn Taro Ice Cream recipe has a light, nutty, and mildly sweet flavor that is so easy to make. This can easily be your newest favorite ice cream flavor, I know it is one of mine!
What is Taro?
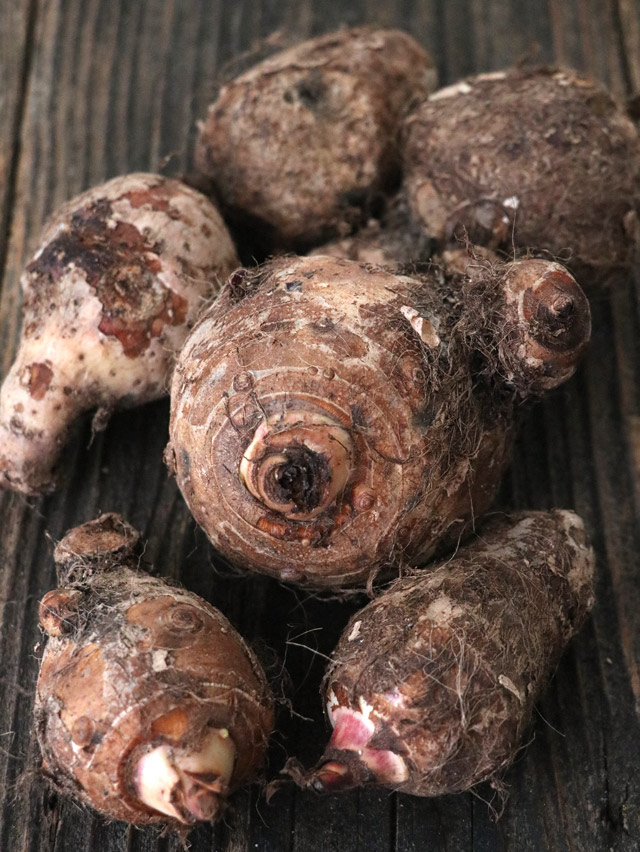
Taro or "Gabi" in Tagalog, is a tuberous root crop that grows in tropical climates and is one of the most common vegetables in the Philippines. It is a swollen underground root called "corm" where starchy nutrients are stored used to fuel the growth of the Taro plant above. Taro is usually compared to potatoes but has a nutty and mildly sweet taste with higher fiber content. It is a source of good vitamins and minerals that help boost energy and metabolism.
Handling Taro with Care
As much as this vegetable boasts many health benefits, always remember to cook it properly. Eating this raw can make your mouth feel numb and itchy because it contains a toxin called calcium oxalate. I also highly recommend using gloves when peeling it as it can irritate your skin. You can also cover your hands with oil first so the substance does not cling, but in case it happens, you can rub table salt in the affected area then wash with cold water.
It may seem strange to use a root crop for making ice-cream, but it is really delicious and has become a popular alternative for the usual vanilla and chocolate-flavored desserts.
What is "no-churn" ice cream?
No-churn is a type of ice cream base that is made without the aid of an ice cream machine. It also does not require cooking so it is easy to make and allows you to explore with lots of different flavors.
Foxy Tips for a Luscious Ice Cream
For Creamier Taro Ice Cream- the higher the fat content of your mixture, the creamier it becomes. This is because fat freezes differently compared to water, it's softer compared to ice. For this no-churn ice cream recipe, whipping cream is the primary source of fat.
Using Egg Yolks- Adding egg yolk is one way to make your ice cream richer and smoother as it adds fats and protein to the mixture. It also extends the shelf life and helps keep it from melting faster before it reaches our mouth. If you are concerned with adding raw eggs you can try using pasteurized egg as a safer option.
Since taro contains a lot of starch, I did not add egg yolks on this recipe anymore and still got the creamy consistency I am looking for
With or Without Bits?- I like having the added texture that those taro bits give me, it gives it an added texture to the overall yumminess of this desert. However, if you prefer to have smoother, just put more time in mashing it as well during the mixing of butter and milk to the taro until it becomes very smooth.
Storing it Right - there are a lot of reasons why homemade ice cream losses it's form and texture after storing but do not worry, there are simple fixes that can help you maintain it's deliciousness. First, make sure to press a sheet of plastic wrap, or parchment/wax paper on top of the ice cream mixture and keep it there. This will keep in the moisture of the ice cream and prevent large ice crystals to form. Another common mistake is to "freeze-melt-freeze" the ice cream, this is a sure-fire way to make ice cream icy. So try to minimize pulling it out of your freezer too often and letting it melt then freeze again. Lastly, store it at the very back of your freezer. Where the temperature is more consistent and won't be affected much when you open your freezer door.
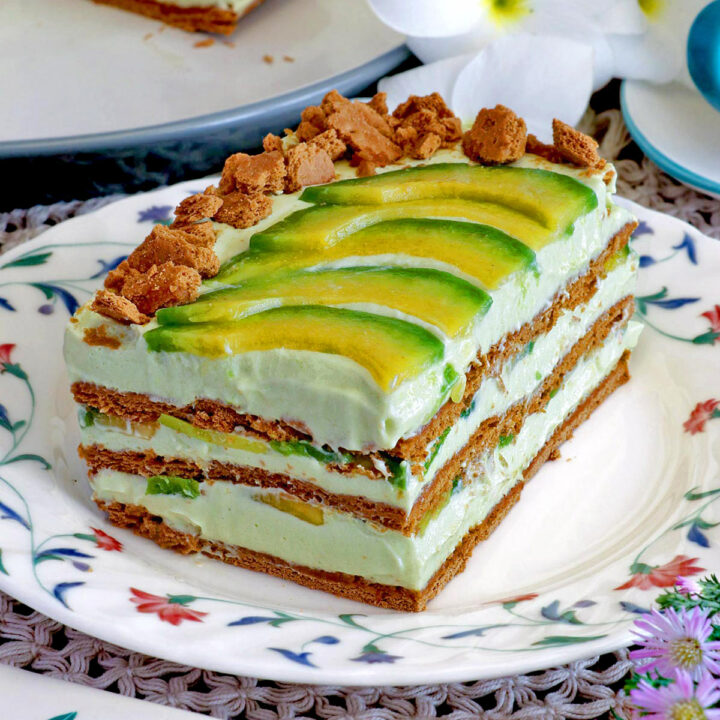
Play with your Favorite Flavors
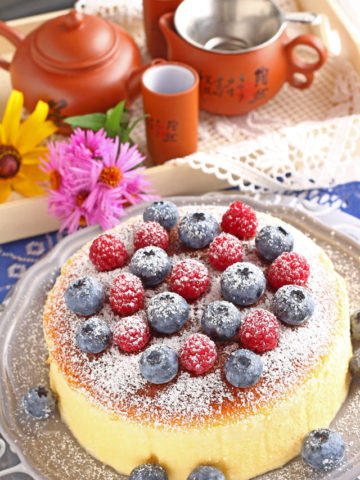
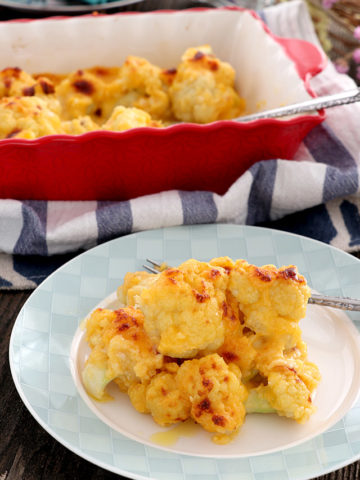
Making ice cream at home is so easy and hassle-free, and gives you the freedom to create your own flavors. I have tried a few but here are some of my favorites:
Printable Recipe
Taro Ice Cream Recipe
Ingredients
- 500 grams Taro
- 300 ml condensed milk
- 500 ml whipping cream
- 2 tbsp butter
- 4-6 tbsp milk
- ½ teaspoon salt
Instructions
- Peel the taro using gloves then cut into 1-inch cubes. Rinse them thoroughly. Boil in water just enough to cover the taro for 15-20 minutes or until cooked, then drain.
- Transfer to a bowl while still hot. Using a spoon, mash the taro into smaller pieces.
- Add salt and butter, then mix using a hand mixer at medium speed. Gradually add 4-6 tablespoon of milk and continue to blend until it becomes smooth and creamy.
- Add condensed milk in 2 batches and mix until it is evenly blended. Chill for at least 30 minutes.
- In a large, chilled bowl, whip the whipping cream using an electric mixer at high speed until stiff peaks form.
- Take ⅓ of the whipped cream and mix it to the taro mixture using a spatula. Then add the rest and gently fold into the mixture until well blended.
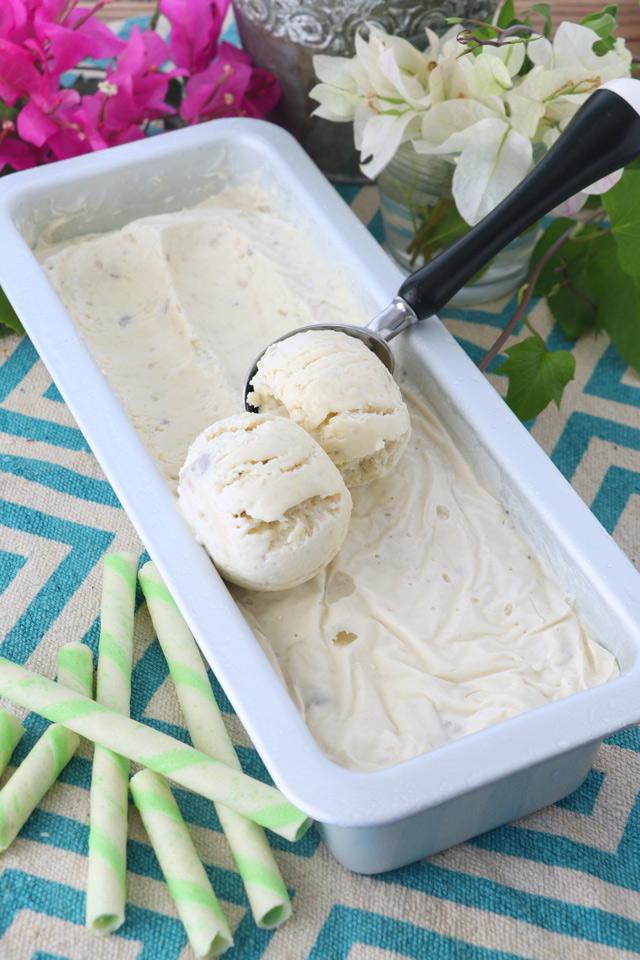
- Transfer to a rectangular pan or container. Tap the pan on the counter to get rid of trapped air bubbles. Place a plastic wrap on top of the pan and press it flat on the surface of the mixture. Freeze for 6 hours or overnight.
- Scoop the taro ice cream to serving bowl or ice cream cones.


Mary says
Thanks for this recipe. I made it and it’s a bit grainy, what should I do?
Bebs says
It could be the taro you used. Like potatoes, some are starchy some not. Try to mix it longer to make it smoother.
Xenia Tigno says
Hi Bebs,
Can you substitute powdered ube instead?
Thanks,
Xenia
Bebs says
Hi Xenia, I will be posting the Ube ice cream soon...
Jacquie Morneau says
I realize this is a no churn ice cream but I just wanted to let you know how much I am enjoying the ice cream maker I won. Your giveaways are wonderful.
Bebs says
Hi Jacquie, so happy to hear from you! I hope you are doing well.